


Bathrooms are always in contact with water, cleaning chemicals and the highest humidity in the entire building. They are also the location most prone to water infiltration, seriously affecting the concrete structure and the living space on the floor below.
If you are looking for a truly durable bathroom floor waterproofing solution – not just a temporary patch but one lasting 15–20 years – this article provides the complete 5-step technical process, suitable material choices and important notes from Euro Paint Vietnam’s team of experts with over 20 years’ experience.
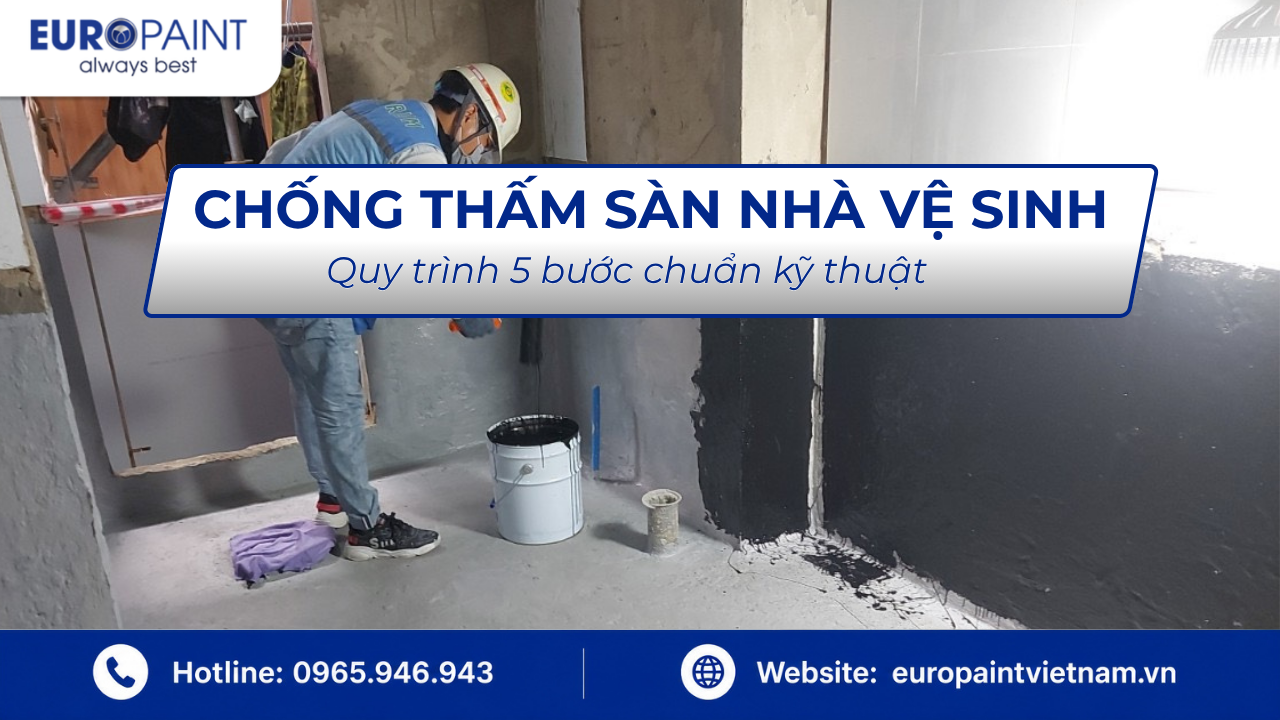
Why Is Bathroom Floor Waterproofing So Important?
Many homeowners and contractors underestimate bathroom floor waterproofing, only rushing to fix it when yellow stains, dripping water or foul odors appear on the ceiling below. This is an extremely costly mistake because by then water has soaked deep into the concrete, destroying the reinforcement and causing a series of consequences:
- Carbonation of the concrete: Water carrying mineral salts and cleaning chemicals penetrates the concrete’s pores, lowering its pH and corroding the reinforcement from within.
- Tile delamination: The tile adhesive loses its bond after prolonged water exposure, causing tiles to peel, crack and become a slip hazard.
- Contamination of the living space: Wastewater from the bathroom seeps down to the ceiling below, creating an environment for bacteria and mold, directly affecting health.
- Repair costs multiplied: Treating infiltration after finishing costs 5–10 times more than doing it correctly from the outset.
According to statistics from residential and industrial projects, more than 70% of infiltration incidents in a building originate from the bathroom and kitchen. That is why bathroom floor waterproofing must be carried out methodically, with the correct process and the right material, right from the construction or renovation stage.
Learn more about the comprehensive durable bathroom waterproofing solutions from Euro Paint Vietnam – from floor and walls to wet-area ceilings.
Bathroom Floor Waterproofing Materials: Which to Choose?
Choosing the right material determines 50% of the success of bathroom floor waterproofing. The market has many product lines with different properties, suited to different specific project conditions.
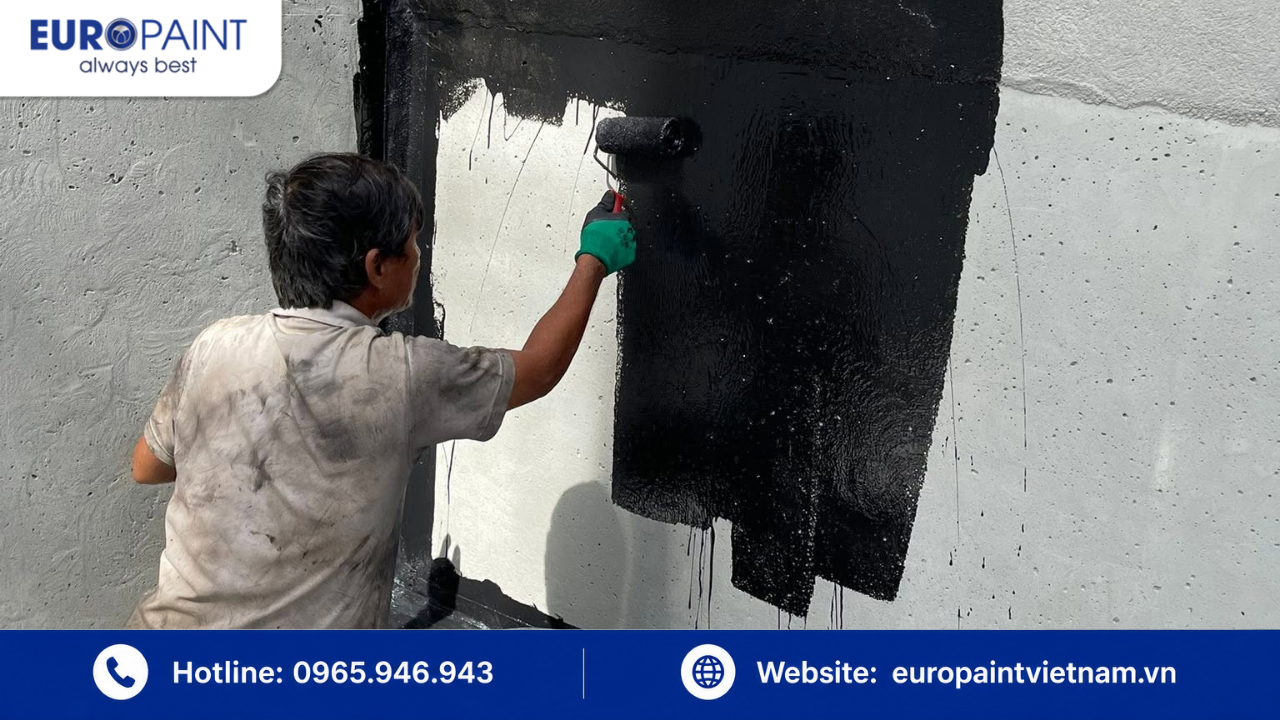
Comparing the Popular Waterproofing Material Lines
| Material type | Euro Paint product | Key advantages | Suitable for | Estimated service life |
|---|---|---|---|---|
| Single-component Polyurethane (PU) | Euro Polymers UP-133 / UP-144 | High elasticity, good water resistance, easy to apply | Non-exposed WC floors, wet areas | 10–15 years |
| Two-component Polyurethane (PU) | Euro Polymers UP-255 | High mechanical durability, chemical resistance, outstanding elasticity | Industrial WC floors, factories | 15–20 years |
| Polyurea | Euro Polymers UREA-900N | Extremely fast curing, high load-bearing, 20+ years durable | Premium projects, water tanks, special wet areas | 20–25 years |
| Water-based Acrylic | Euro Polymers AC-250 / AC-300 | Safe, environmentally friendly, multi-color | Bathroom walls, lightly wet areas | 5–10 years |
For ordinary residential bathroom floor waterproofing, Euro Paint Vietnam recommends the Euro Polymers UP-100 Primer + UP-133 or UP-255 system depending on technical requirements. This is a solvent-based Polyurethane system with high elasticity, good adhesion on damp concrete surfaces and the ability to withstand continuous water pressure from above.
Explore in more detail Polyurethane waterproofing paint – the material line trusted by thousands of projects in Vietnam.
The 5-Step Technical Process for Bathroom Floor Waterproofing
This is the standard process Euro Paint Vietnam applies to hundreds of residential and industrial projects, ensuring bathroom floor waterproofing lasts 15 to 20 years without the need to demolish and redo it.
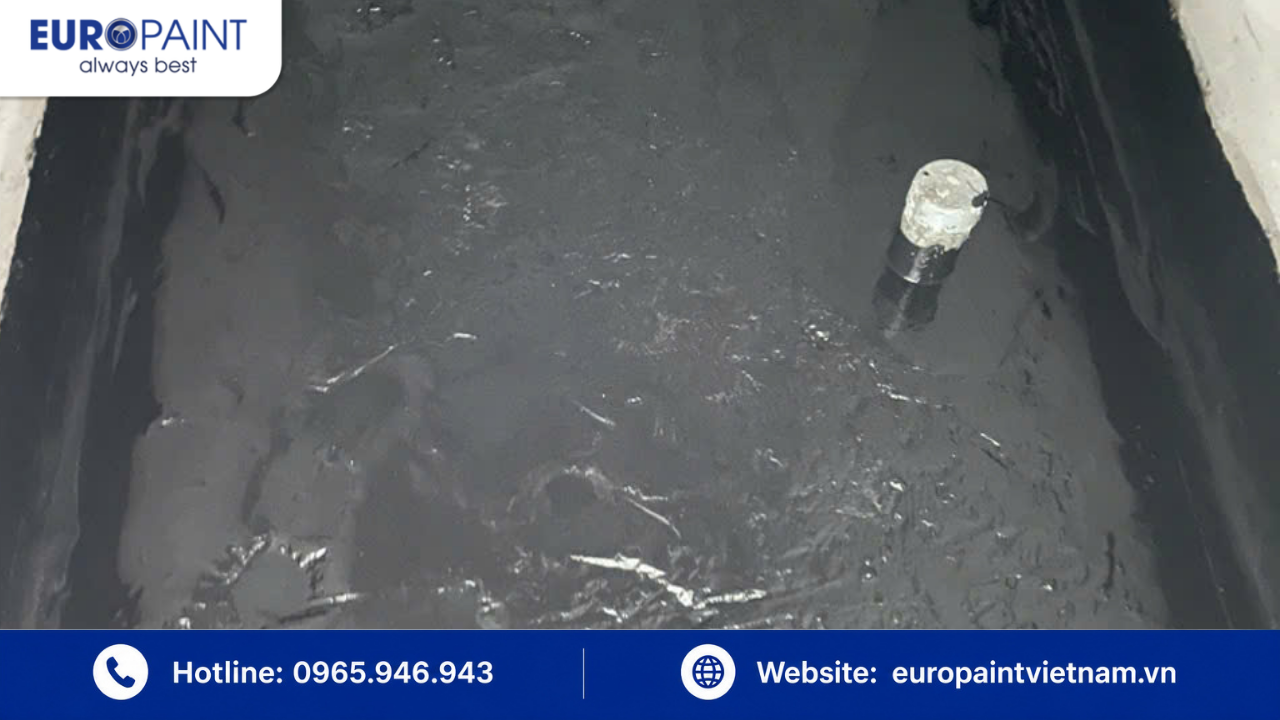
Step 1: Inspect and Prepare the Surface
This is the most important step, determining the entire quality of the waterproofing layer. The floor surface must be completely cleaned: removing dust, grease, old paint, excess mortar and other impurities. Use a grinder or sandblaster to roughen the concrete surface so the waterproofing material adheres better. Check the surface moisture – for the solvent-based UP system, moisture must not exceed 7%.
Step 2: Treat the Weak Points
Before applying the general waterproofing layer, prioritize treating the weak points including: wall–floor corners (skirting), drain outlets, cracks, expansion joints and connections. These are often overlooked but are the main cause of recurring infiltration. Use Euro Polymers D-200 Epoxy resin to inject and treat dry cracks, then apply reinforcing tape at the wall base corner before applying the waterproofing coat.
See detailed guidance on pipe-penetration waterproofing – the number-one weak point in every bathroom.
Step 3: Apply the Primer
The primer acts as a “bridge” between the concrete surface and the main waterproofing layer. Euro Paint Vietnam uses Euro Polymers UP-100 Primer – a solvent-based, single-component Polyurethane primer that penetrates deep into the concrete’s pores and boosts adhesion for the following layers. The primer must be applied evenly, covering the entire surface, and allowed to dry completely (usually 4–6 hours depending on weather) before the next layer.
Step 4: Apply the Main Waterproofing Layer
This is the core step of the entire bathroom floor waterproofing process. Depending on technical requirements, you can choose:
- Euro Polymers UP-133 or UP-144: Single-component Polyurethane waterproofing, black, suitable for non-exposed areas. Apply 2–3 coats, each 0.5–0.8mm thick, for a total dry film thickness of 1.5–2mm.
- Euro Polymers UP-255: Two-component Polyurethane waterproofing with superior elasticity and mechanical durability, suitable for projects with high standards or heavy loads.
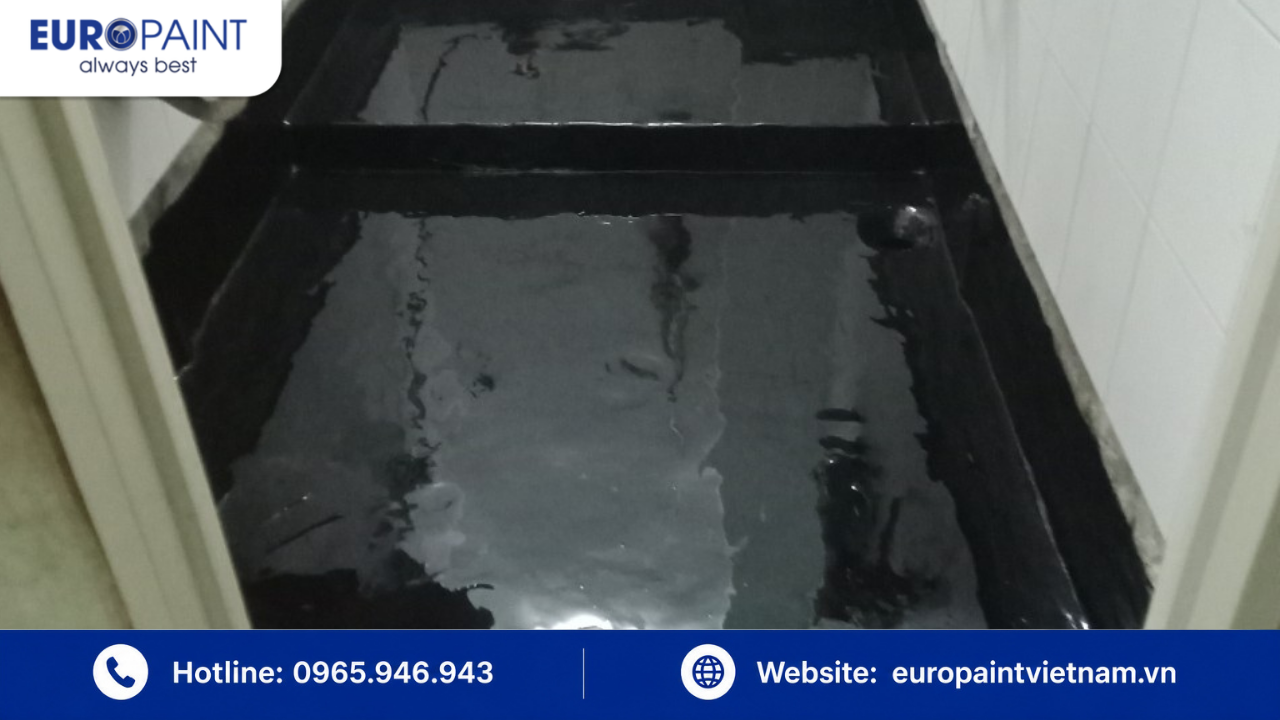
Important note: The waterproofing layer must be carried up the wall base at least 20–30cm to prevent water infiltrating back from the wall into the floor.
Step 5: Water-Immersion Test and Finishing
After the waterproofing layer has dried completely (usually 24–48 hours), perform a water-immersion test: seal the drain outlets, flood the floor with about 5–10cm of water and hold it for 24–48 hours. Check the ceiling below for any damp spots. If it passes, apply the protective layer (a thin mortar screed or tile adhesive) and finish with tiling. This test step is mandatory and must not be skipped in any project.
Common Mistakes That Make Bathroom Floor Waterproofing Fail
Even with good materials, many projects leak again after just 1–2 years due to these basic application errors:
- Not preparing the surface carefully before application: A surface still with dust, grease or moisture prevents the waterproofing layer from adhering and causes peeling.
- Skipping the primer: Many applicators skip this step to save cost, leaving the main waterproofing layer poorly bonded to the concrete.
- Insufficient film thickness: Applying too thin (under 1mm) leaves the membrane unable to withstand water pressure and thermal movement.
- Not treating the wall base corner and pipe penetrations: These two locations are often missed but are the weakest points of the waterproofing system.
- Not water-testing: Skipping the final check and tiling before the membrane is fully cured leads to problems after completion.
- Choosing unsuitable material: Using Acrylic paint for the bathroom floor (only suitable for walls) or choosing low-quality products of unknown origin.
Also refer to the standard waterproofing application process Euro Paint Vietnam applies to hundreds of real projects.
Bathroom Floor Waterproofing Costs: What Is Reasonable?
The cost of bathroom floor waterproofing depends on many factors: area, surface condition, material used and the complexity of the project. The reference table below gives you an overview:
| Item | Materials used | Material cost (est./m²) | Notes |
|---|---|---|---|
| Standard WC floor waterproofing | UP-100 Primer + UP-133 | Contact for a quote | Suitable for homes, apartments |
| Premium WC floor waterproofing | UP-100 Primer + UP-255 | Contact for a quote | Villas, premium apartments |
| Industrial WC floor waterproofing | UREA-900N (Polyurea) | Contact for a quote | Factories, production workshops |
Euro Paint Vietnam offers free survey and consulting, and allows on-site product sample testing before you decide. This gives investors and contractors complete peace of mind about material quality before full-scale deployment.
See the detailed and latest bathroom waterproofing pricing from Euro Paint Vietnam.
Conclusion
Bathroom floor waterproofing is not an item to be done carelessly or to cut costs on with low-quality materials. A waterproofing system applied with the correct 5-step process, using high-quality Polyurethane or Polyurea, can protect your building for 15–20 years without costly demolition and repair.
In summary, to achieve optimal results in bathroom floor waterproofing, three key factors must be ensured:
- The right type of material – Prioritize the Polyurethane or Polyurea system from a reputable brand such as Euro Polymers.
- A standard application process – Do not skip any step, especially surface preparation, the primer and the weak points.
- An experienced applicator – A formally trained technical team with over 20 years of real-world experience.
Learn more about which bathroom waterproofing paint is best to make the most suitable material choice for your project.
Contact Euro Paint Vietnam – Get Free Consulting & Sample Testing
Euro Paint Vietnam – with the motto “PIONEERING SOLUTIONS – SUPERIOR QUALITY” – specializes in supplying materials and comprehensive bathroom floor waterproofing solutions for contractors, investors and applicators nationwide. With an engineering team of over 20 years’ experience, 24/7 technical support and a commitment to international-standard quality, we are ready to accompany you from the survey stage to project completion.
- 🌐 Website: europaintvietnam.vn
- 📞 Hotline / Zalo: 0965.946.943
- 📧 Email: info@europaintvietnam.vn
- 📍 Address: 64/27 KP Binh Phuoc B, An Phu Ward, Ho Chi Minh City
- 📘 Facebook: Euro Paint Việt Nam
👉 Get a FREE solution consultation & sample test for your project – Call now: 0965.946.943 or Chat on Zalo for pricing & product technical documents.